| More Fuel Tank Installation Information |
 |
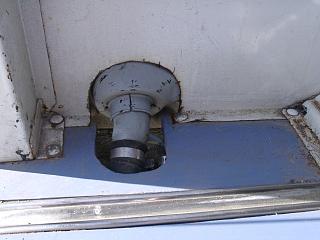 |
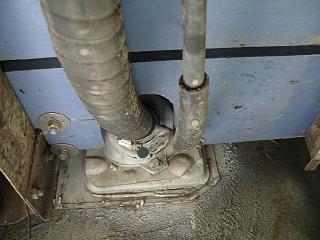
| Looking from inside the bed, here's another modification that must be made to the bed itself. This was all done with the angle grinder. This can be covered with a piece that was in the Blazer the tank came from. It turns out that the Blazer hose routing does the same thing so there is a stamped metal piece flanged on all sides with pre-drilled holes that can be easily install in your truck with some sheet metal screws. |
| Looking from underneath, you can see where the hose clamps were placed. You need them here so you have a way to drop the tank if you need to. |
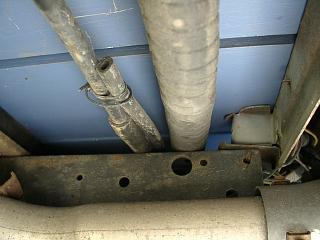 |
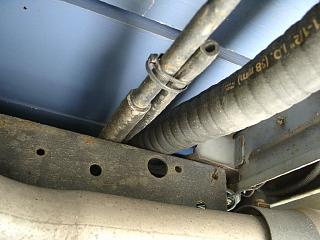
| Two different shots from underneath showing the hose from the tank to the filler neck and the vent hose. You can see here why you nee the 2" wooden standoffs. Don't use hard piping until you're outside of the frame rail or you won't be able to drop the tank. |
 |
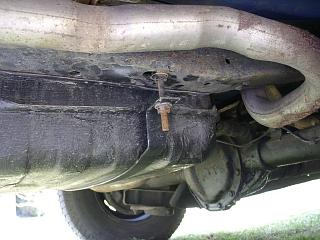 |
| All-thread was used and double nutted inside the frame with a single nut holding the straps which hold the tank in place. |
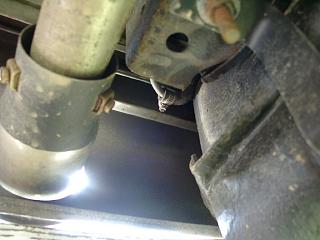 |
| This is a little hard to see, but the rubber fuel line comes from the tank and hooks into steel line on the passenger's side. Disconnect this when the tank is dropped. |
| Thanks to Richard Twiddy for the photos and installation instructions. If you have any questions you can contact him directly at rct1951@aol.com |
 |
| This is nothing more than an electrical conduit clamp used to secure the steel fuel line to the frame rail in several places. A short piece of rubber hose is used for spacing and vibration. |