'63 After-Market Gauge Installation |
Adam Kirby submitted this great and very detailed gauge installation that he did on his '63 C10 pickup.
Click on any of the pictures for a larger view. |
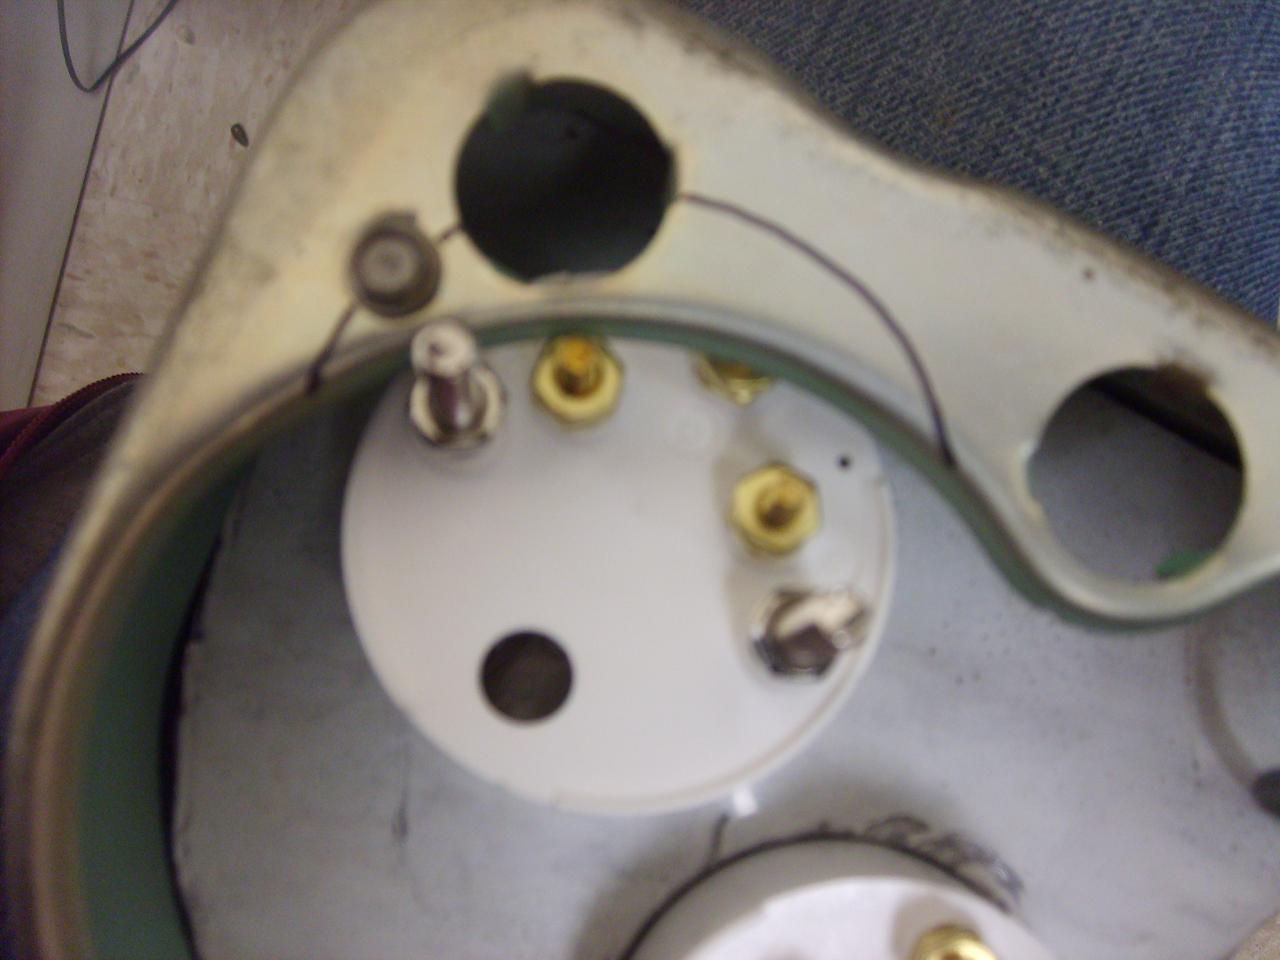
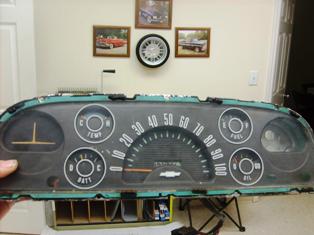
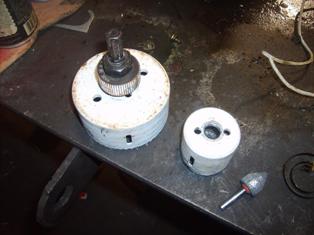
| To start, Adam disassembled his gauge cluster. |
 |
| The cluster comes free from the plastic lens and the light defuser. |
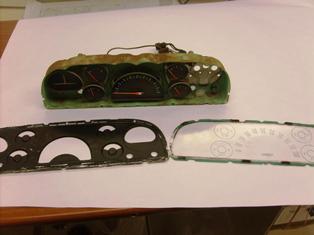 |
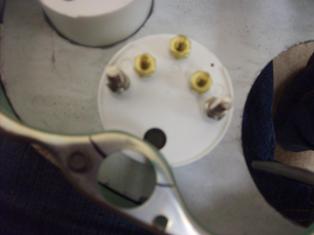
| The individual gauges are held in place by a few well placed screws and must removed as well. |
 |
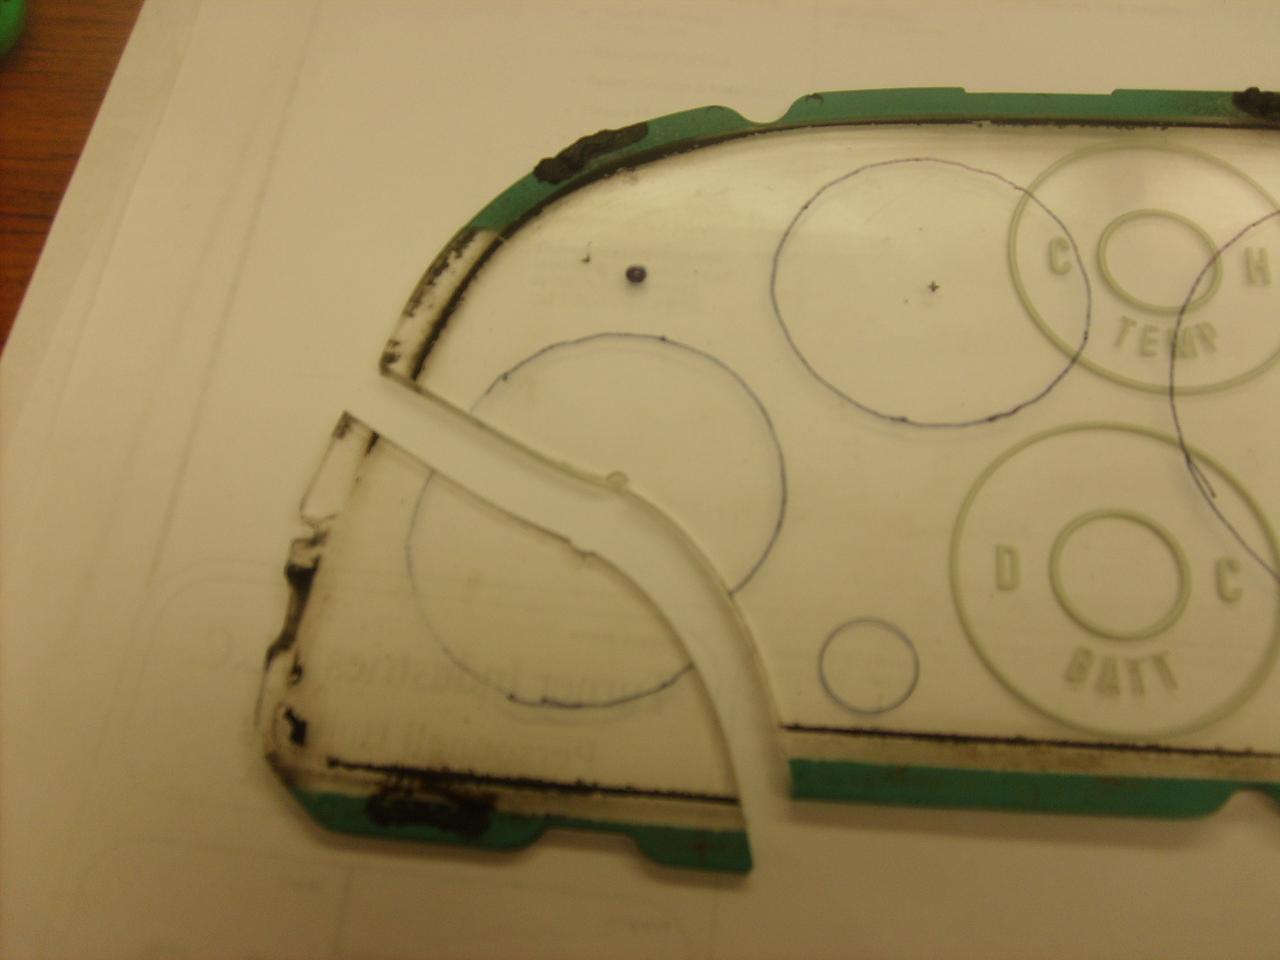
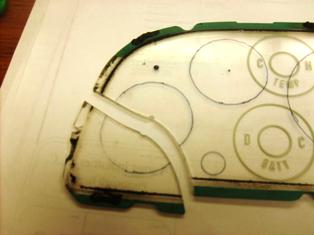
| Originally he had intended on using the original plexiglass instrument lens but soon realized that 45 year-old plastic was a little too brittle. |
 |
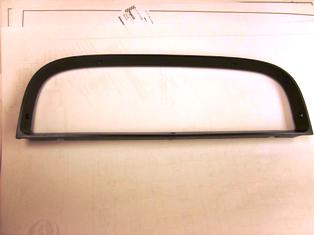
| Next, he sandblasted the bezel and gave it a good coat of black paint. |
 |
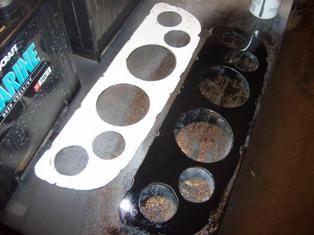
Since the plastic lens couldn't be used, he made a template.
If you'd like a copy of his template click HERE. |
 |
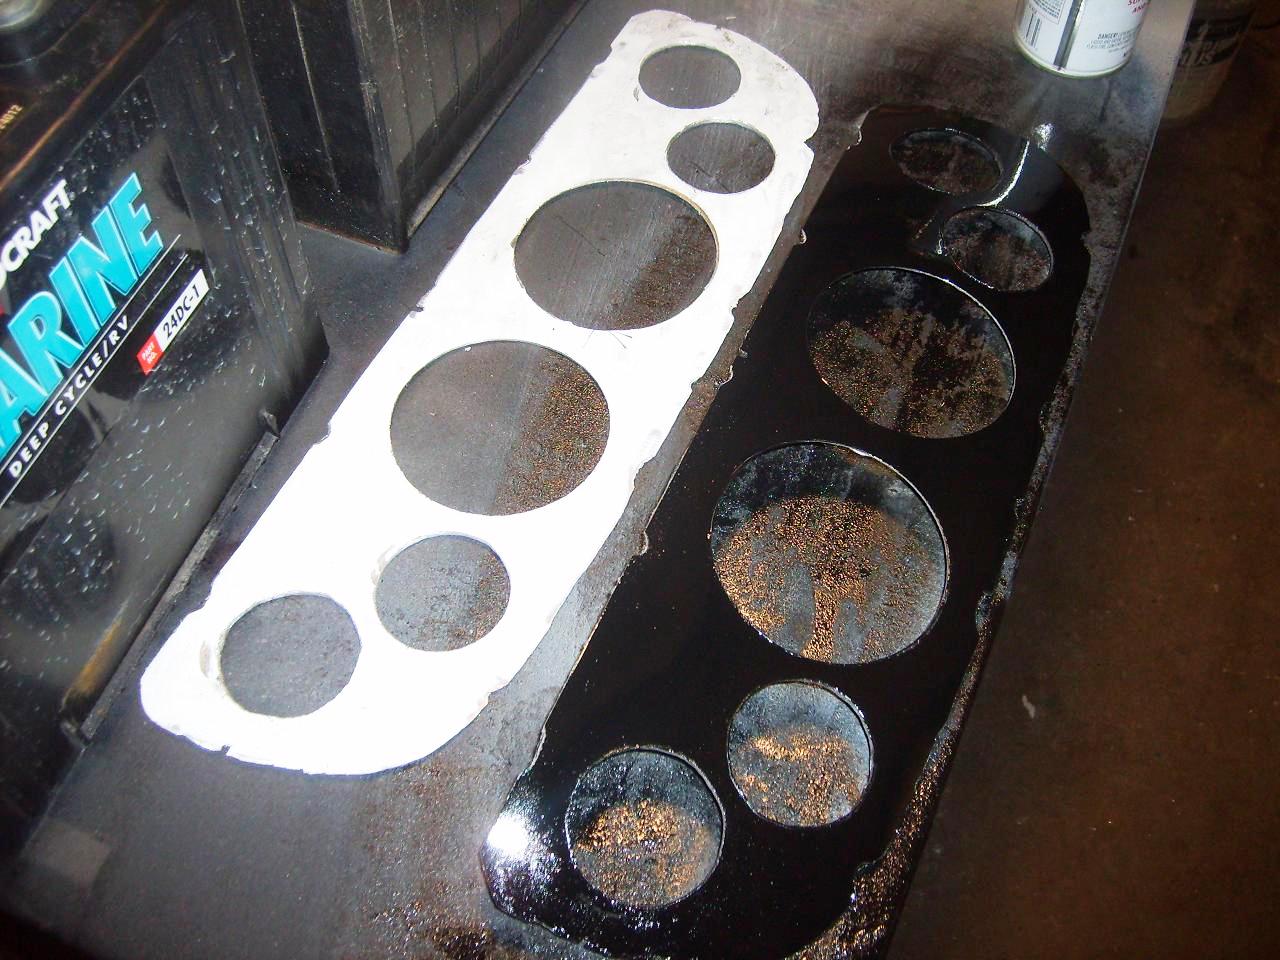
| He traced his design onto a piece of aluminum. Then using hole saws he cut a hole for each gauge. He used a 3-3/8" for the large gauges and a 2" for the smaller ones. The 2" hole saw didn't quite get the job done since the small gauges are 2-1/6" in diameter. The Dremel and a grinding bit took care of that problem. |
 |
| In this case the material he had laying around wasn't quite think enough, so he glued two pieces together. |
 |
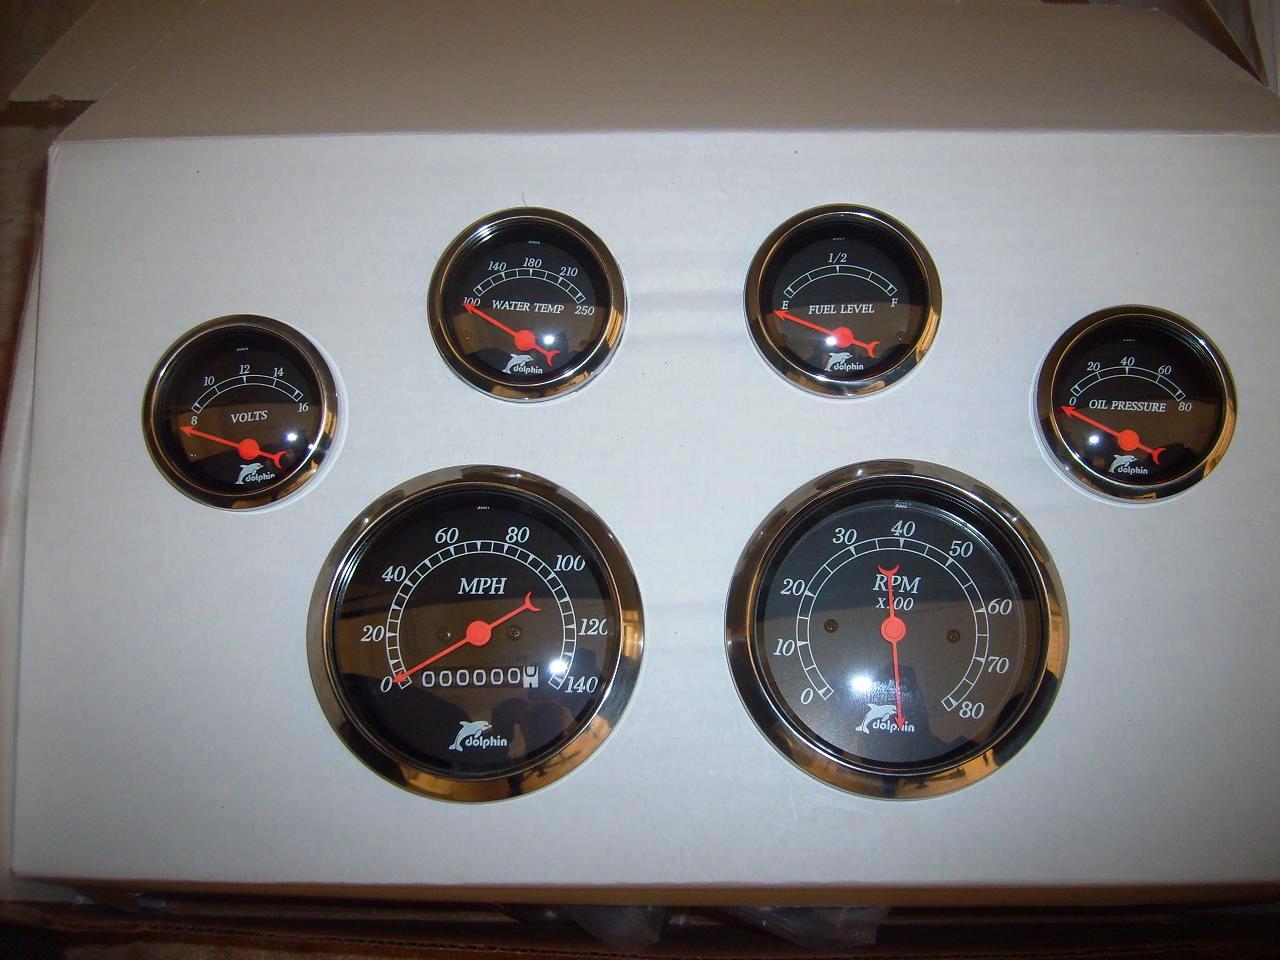
| He purchased a Dolphin 6-gauge set off of ebay for less that $200 including shipping. |
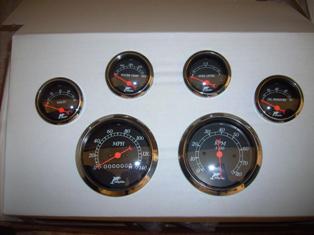 |
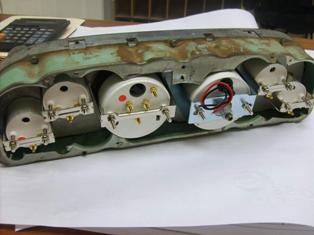
| The gauges were then test fit and, as luck would have it, the test worked! |
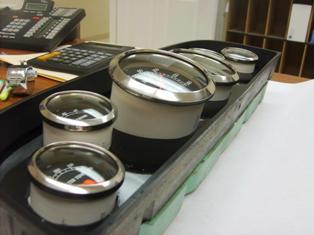 |
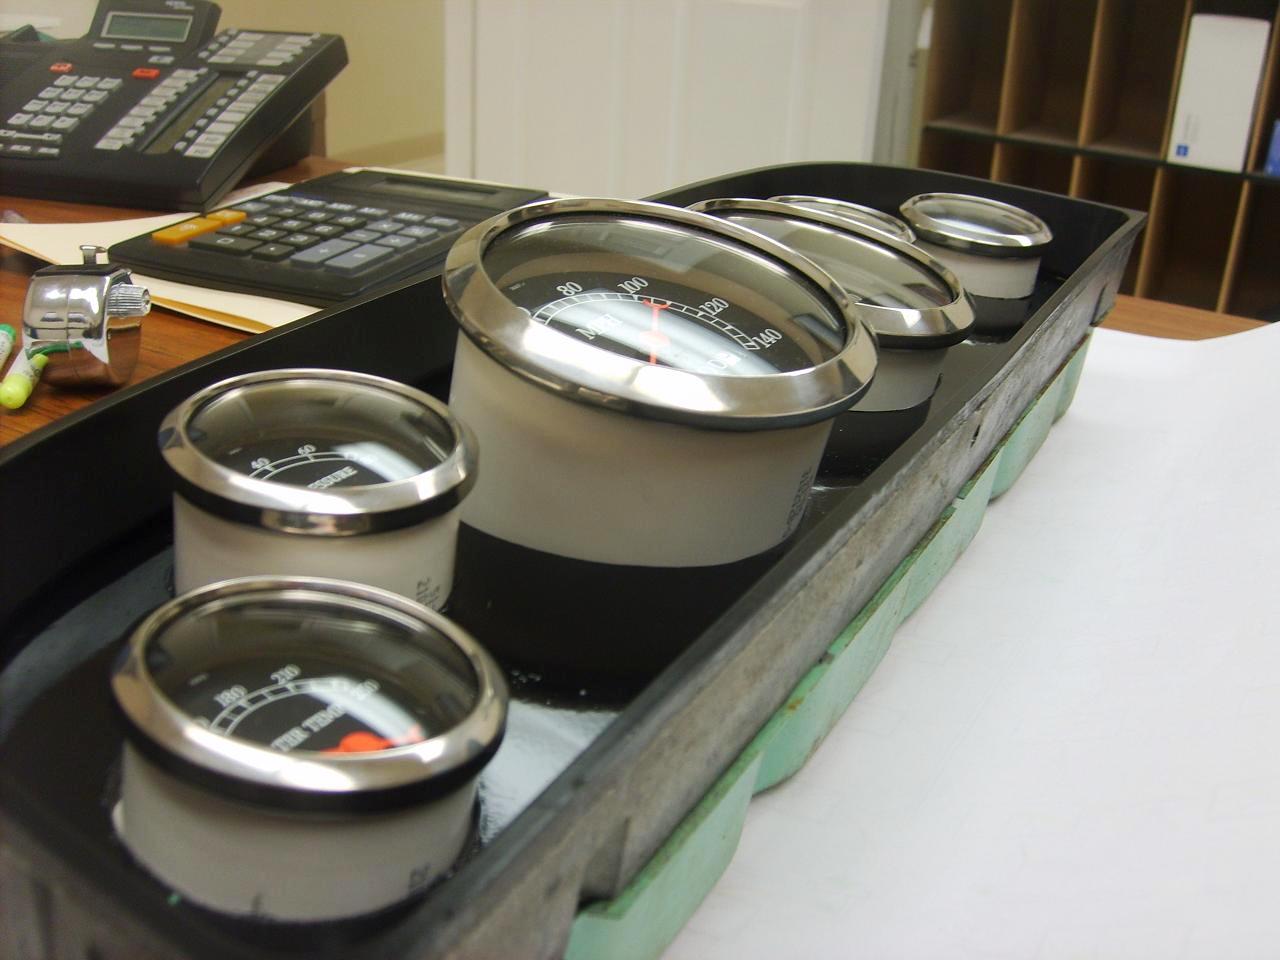
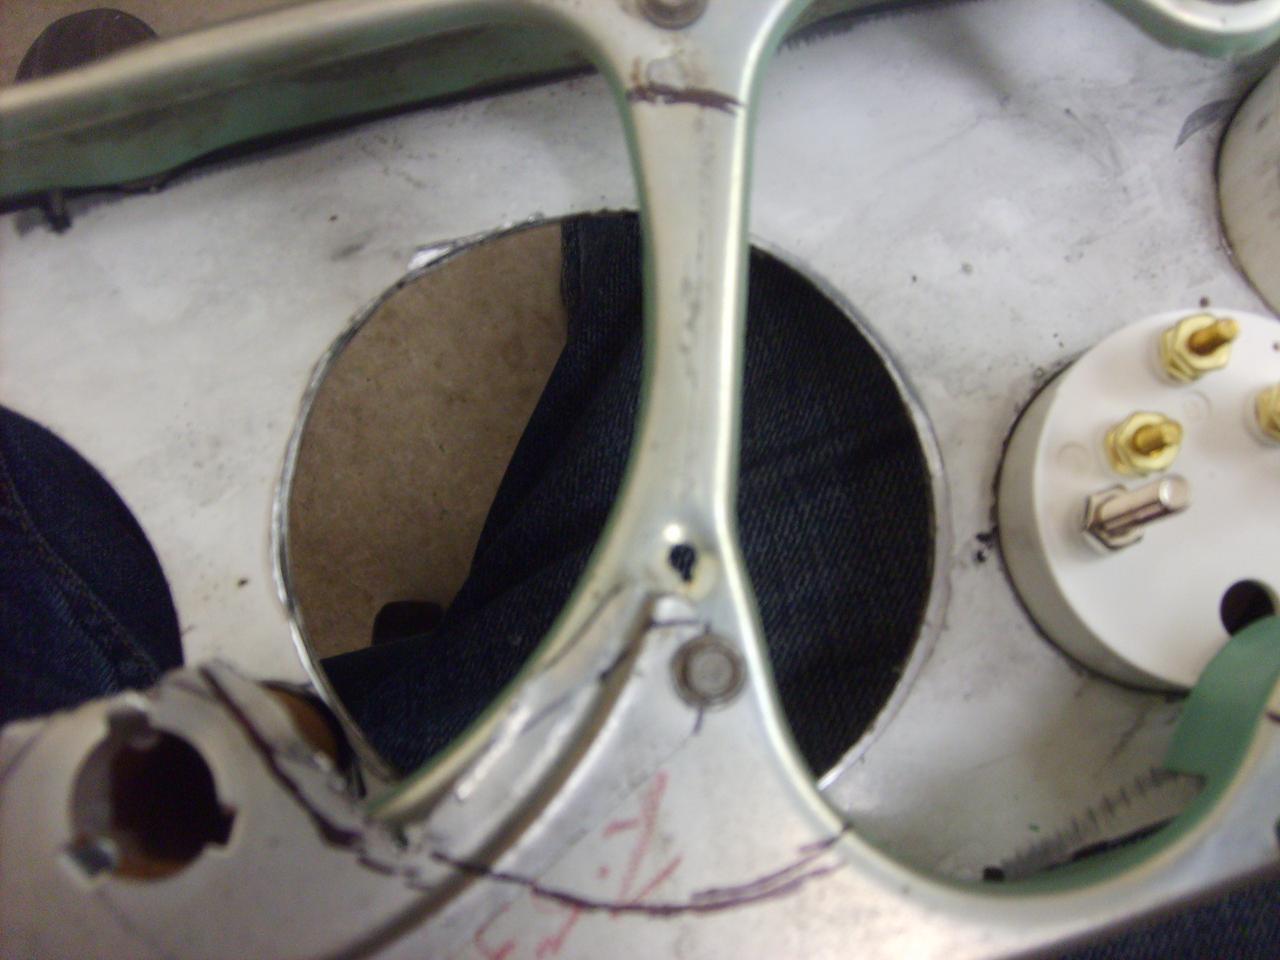
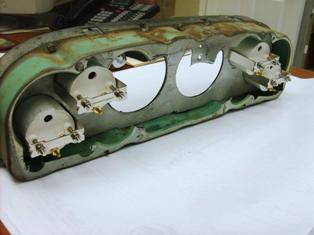
| The cluster housing had to be trimmed to allow the allow the gauges to fit into their new locations. |
 |
| With each gauge in place, he carefully marked the areas that had to be trimmed. |
 |
| |
 |
| This picture shows what things looked like when his trimming was complete. |
 |
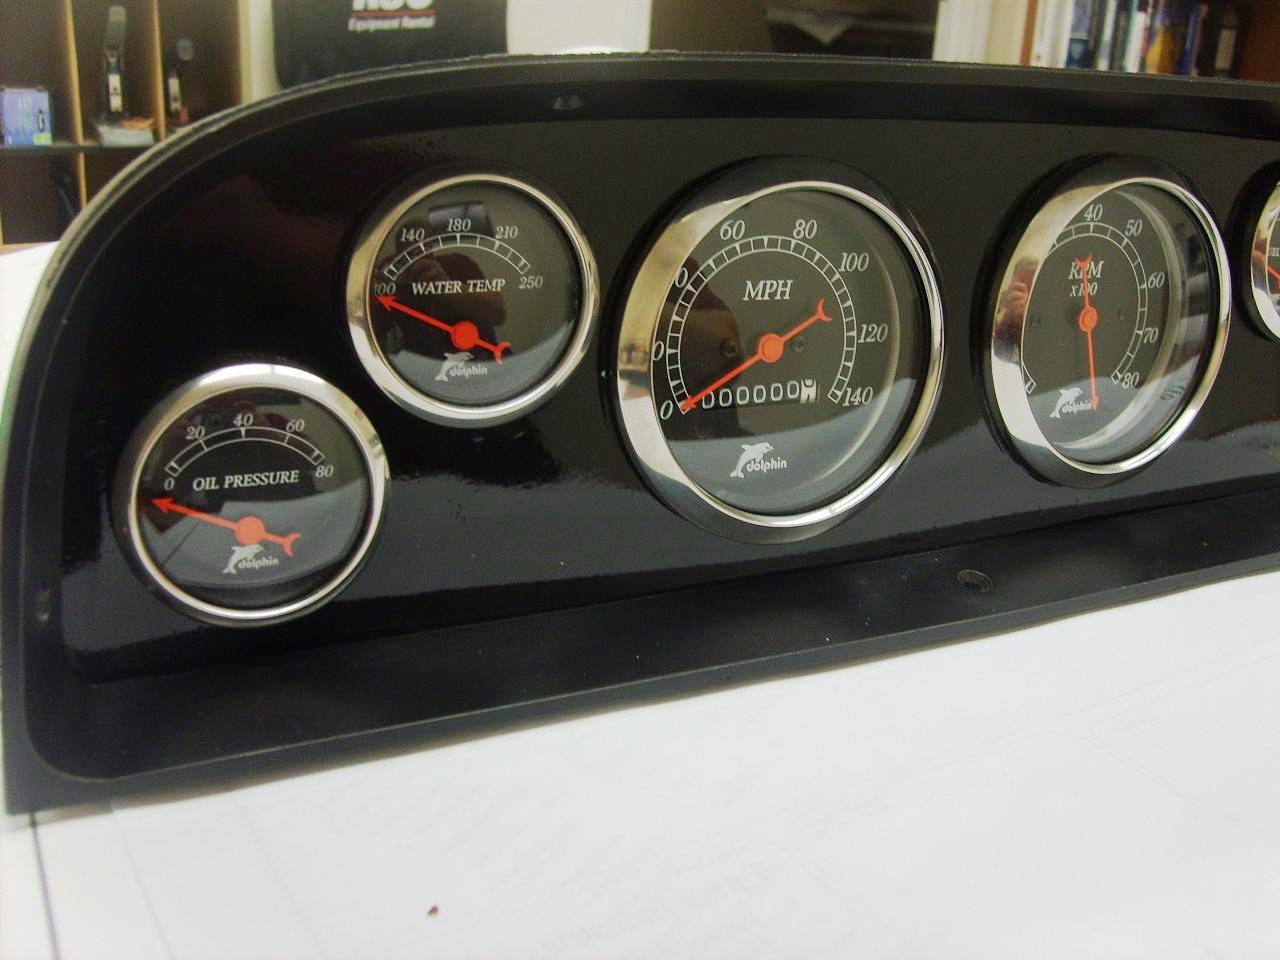
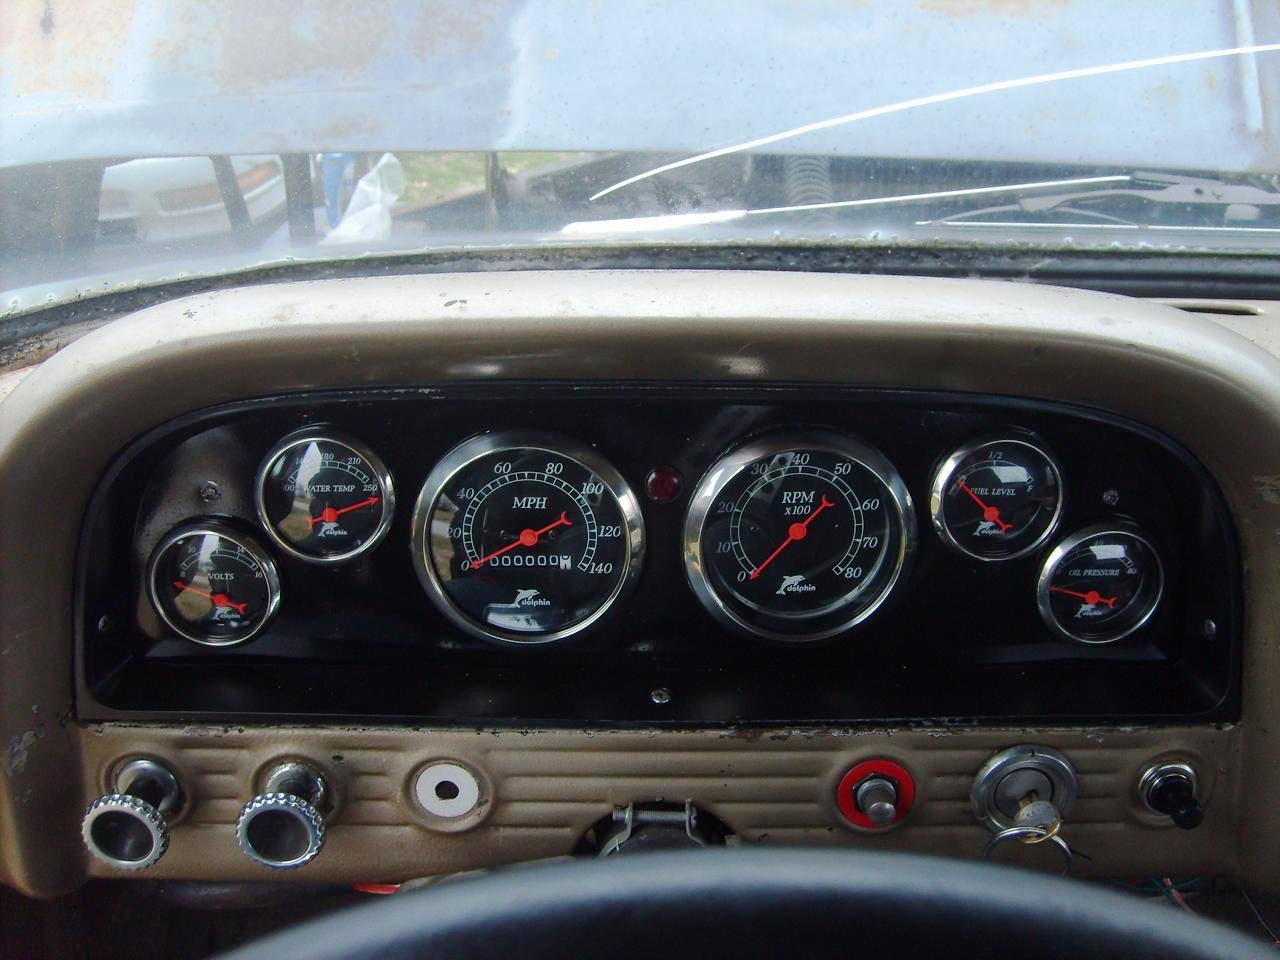
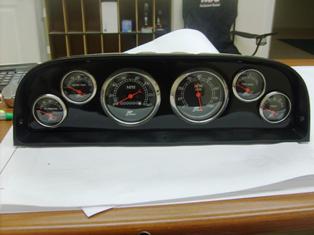
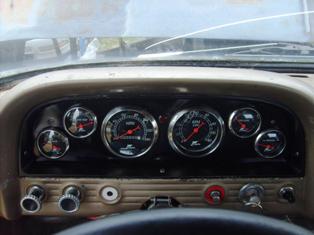
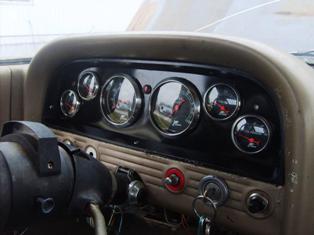
| The the gauges in new insert and the bezel in place, this is what it looks like. |
 |
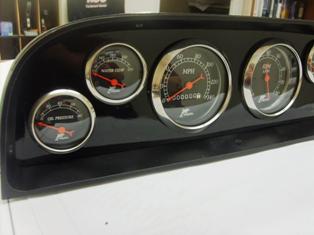
| A closer view reveals how nice these guages really are. |
 |
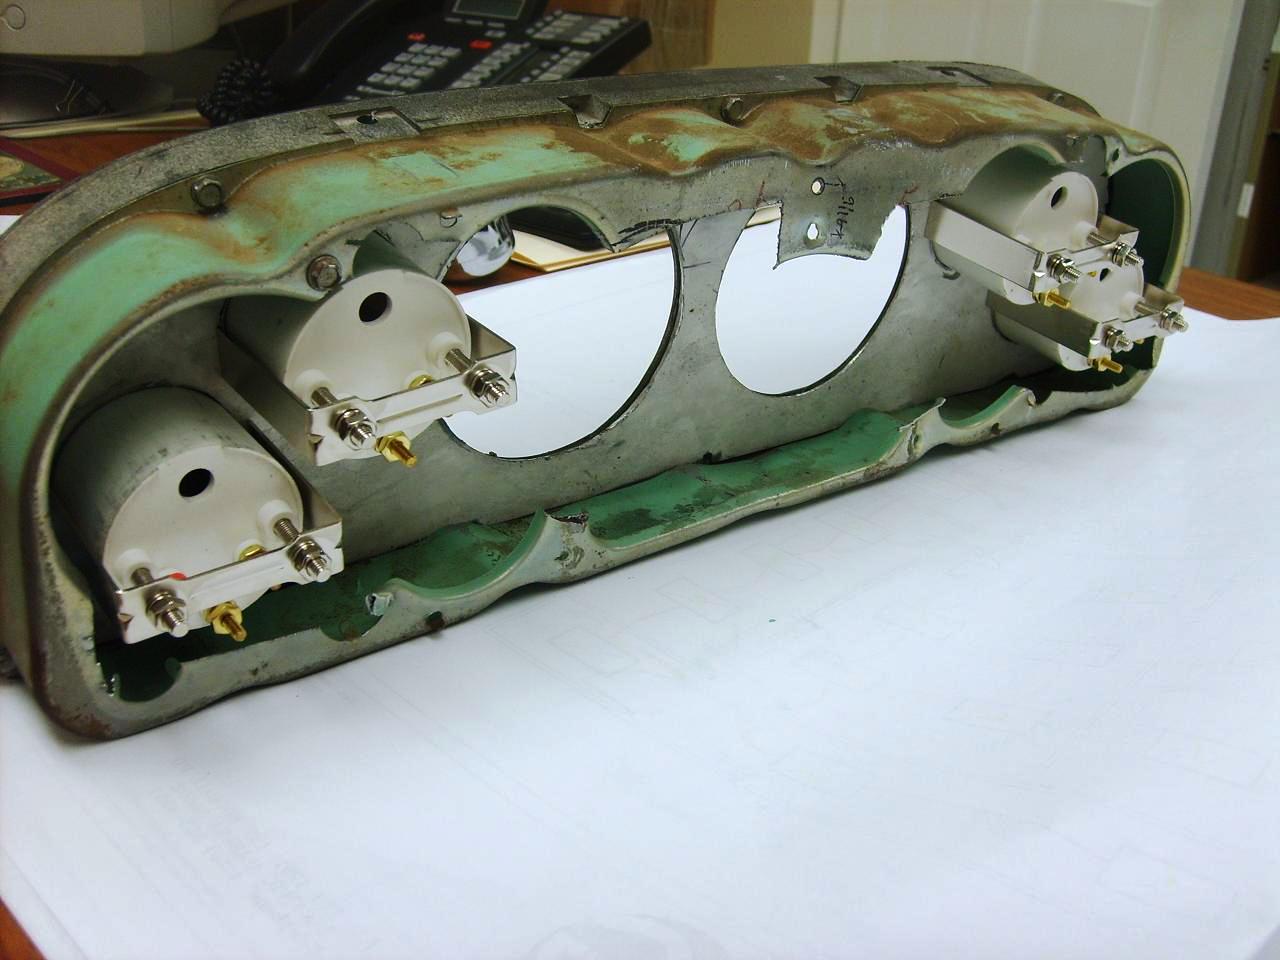
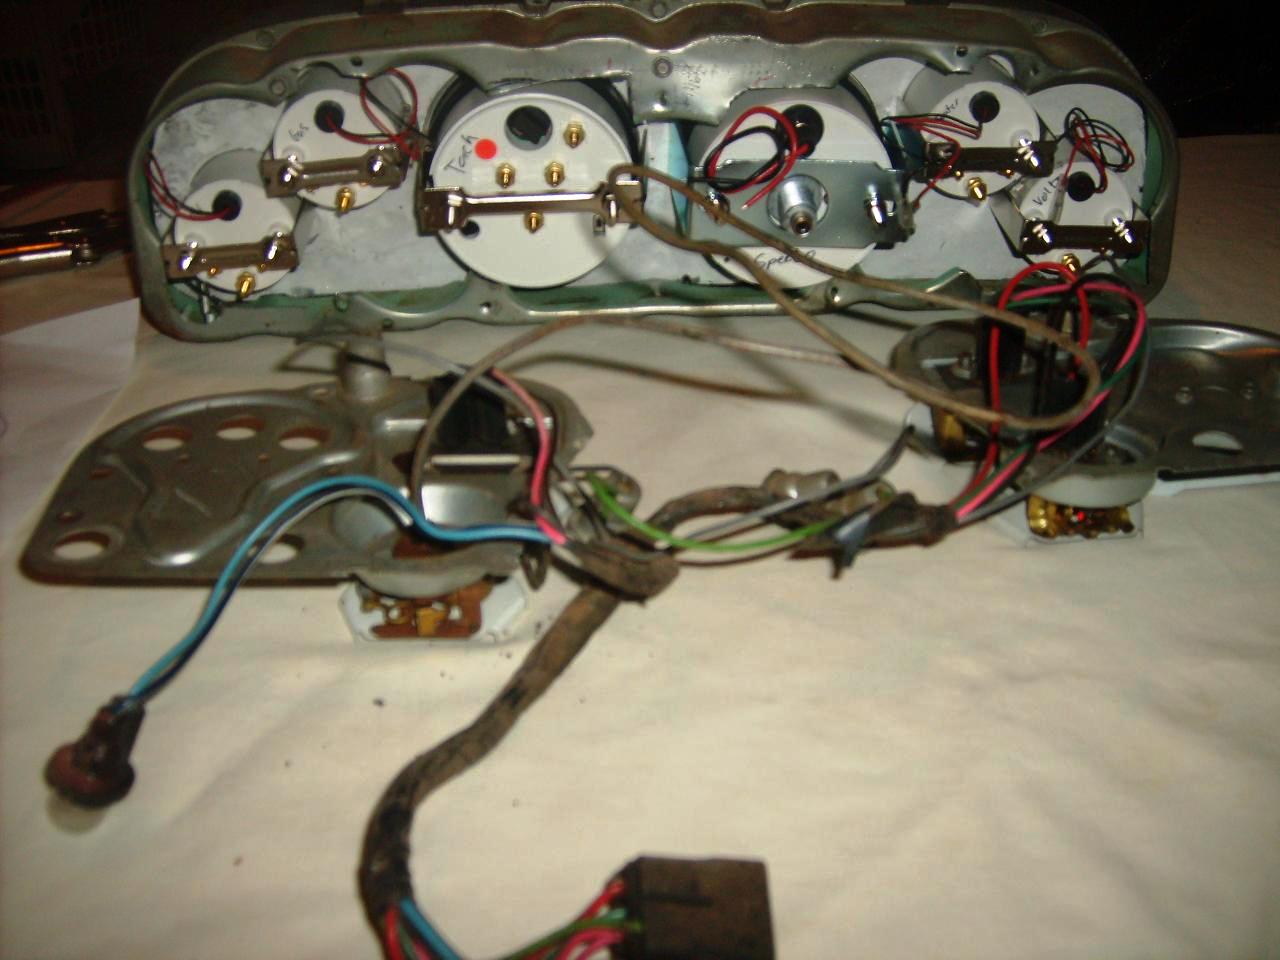
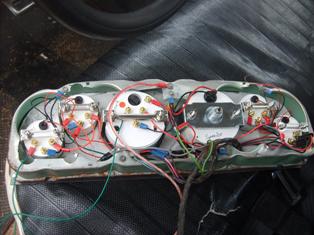
| From the back you can see why so much trimming had to happen. |
 |
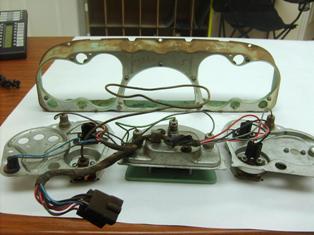
| For the wiring, Adam used the original harness. |
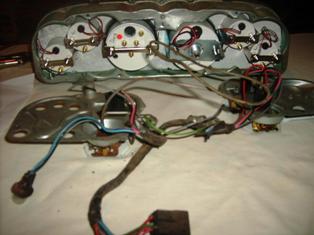 |
| He grounded all of the gauges to the cluster and then ran a 16 ga wire from the cluster to a good ground source behind the the dash. |
 |
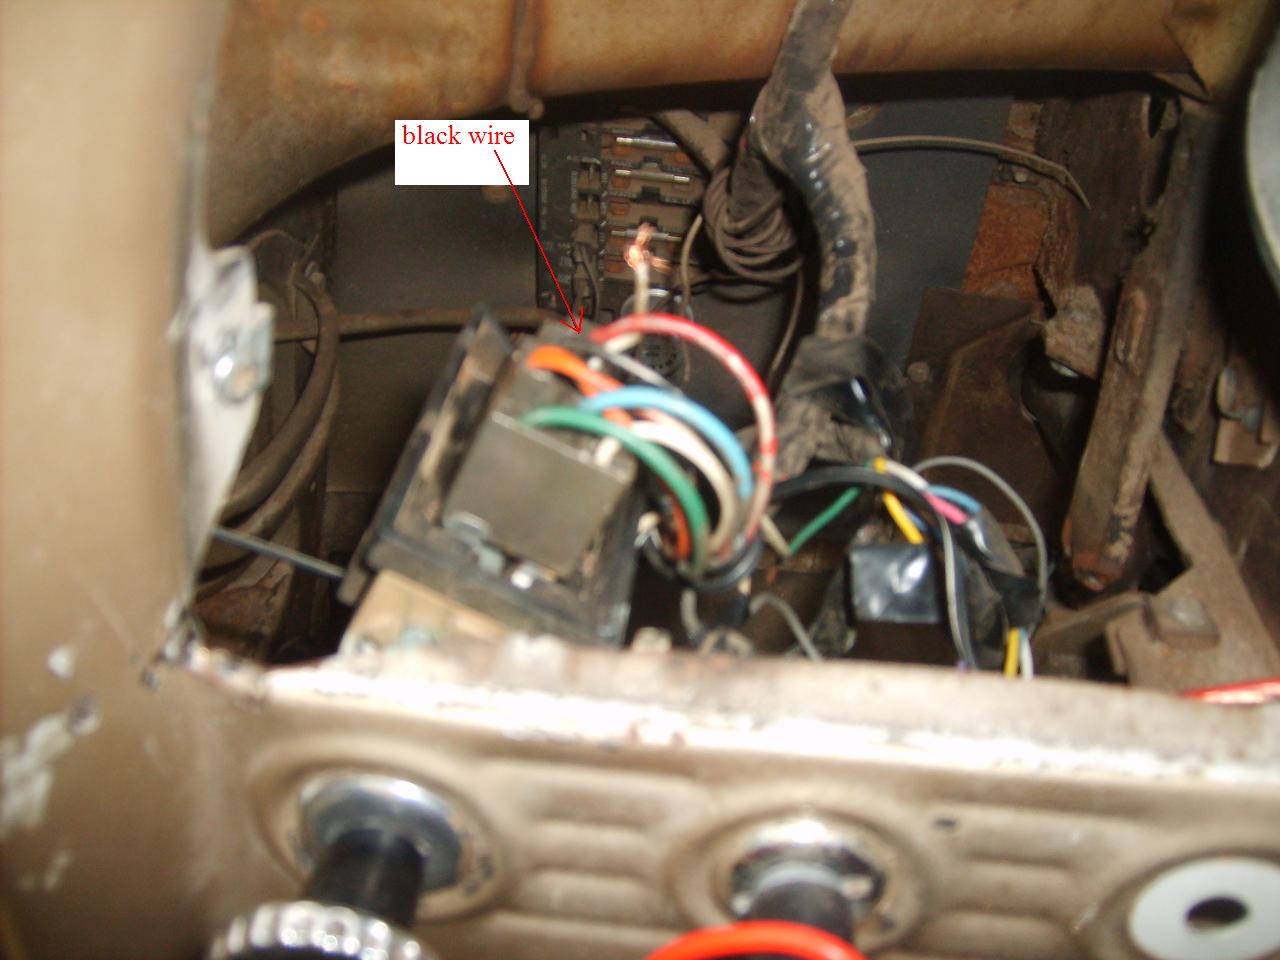
| He connected the gauge lighting directly to the headlight switch. The wire that is hot when both the headlights and parking lights are on is the black one. |
 |
| For the high beam he used a red LED and for the turn signals two green LEDS. Here you can see the high indicator letting you know in no uncertain terms that the high beams are on. |
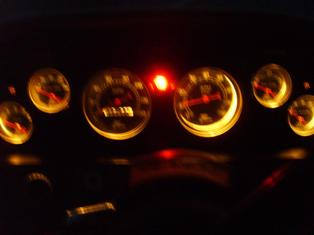 |
There is no doubt this is a first class set up. Adam says it's wonderful to know what everything is doing while you're driving down the road. Know how fast you are actually going and whether or not you have oil pressure is a great feeling.
If you have any questions, contact Adam at akirby@gosselectric.com |
 |
 |
| BACK TO THE IDEA PAGE |
|
| |
|
| |
|
| |
|
| |
|