Convert 60-62 Front Suspension
T
The newer front suspension is from a 1975 Chevy. It is my understanding anything from 1973-1987 (Chevy or GMC) will fit. (Actually anything from 63-72 should also fit, but these years don't provide disc brakes).
I wanted 5 lug wheels and disc brakes, but the main reason I did the conversion was to eliminate the ball bearing wheel bearings. At the time they were costing over $100 a side to replace. Like so many other replacement parts, the newer ball bearings do not appear to be as high a quality as the originals and burned out with alarming regularity, while roller bearings seem to last forever. The 1960 ball joints and steering parts are also rare and expensive.
For the newer crossmember/suspension a local wrecking yard sliced the frame off just ahead of the firewall.
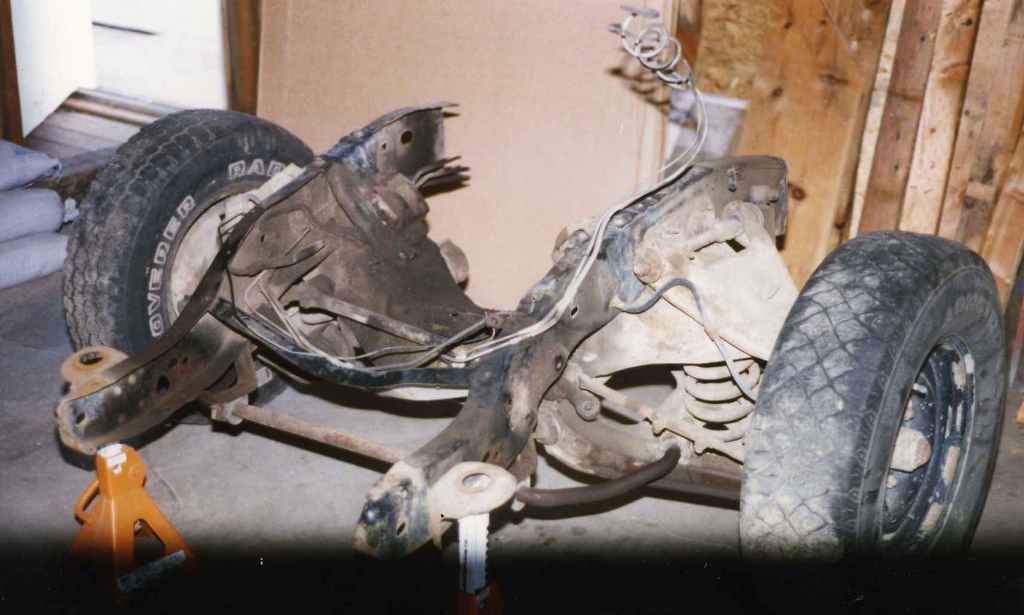
The 1975 donor frame fresh from the wrecking yard.
In order to make sure all the later components fit in exactly the right place on the 1960 frame, once the donor suspension was disassembled, templates were made out of manila file folders indicating the location of all mounting holes for the crossmember, idler arm, flexible brake hoses, sway bar, etc.
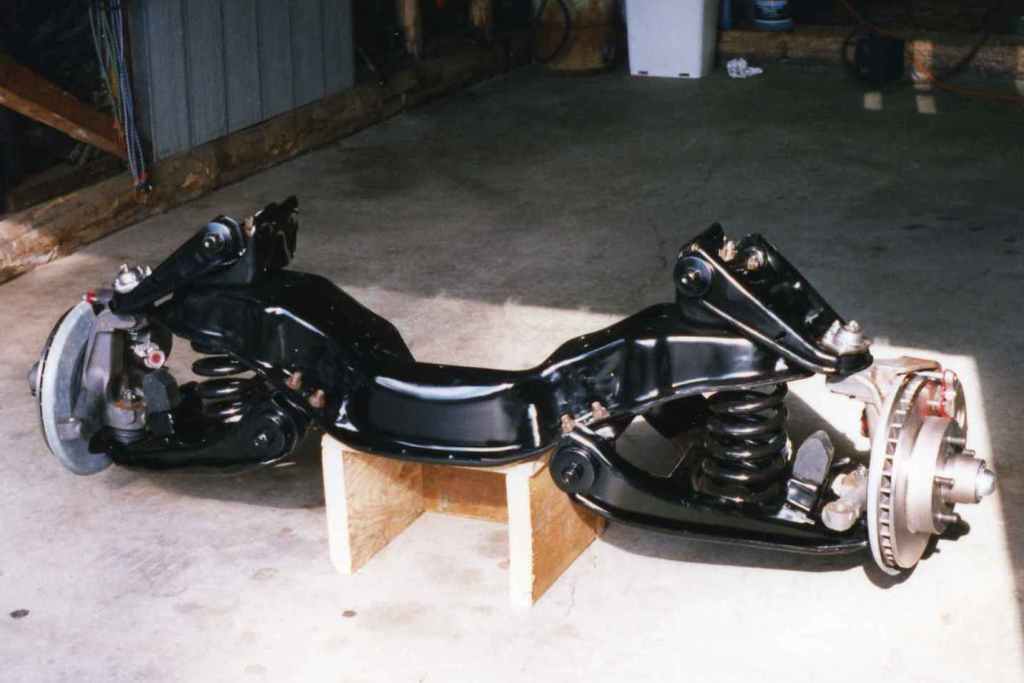
Here's a shot of the cross member all cleaned up and ready to go
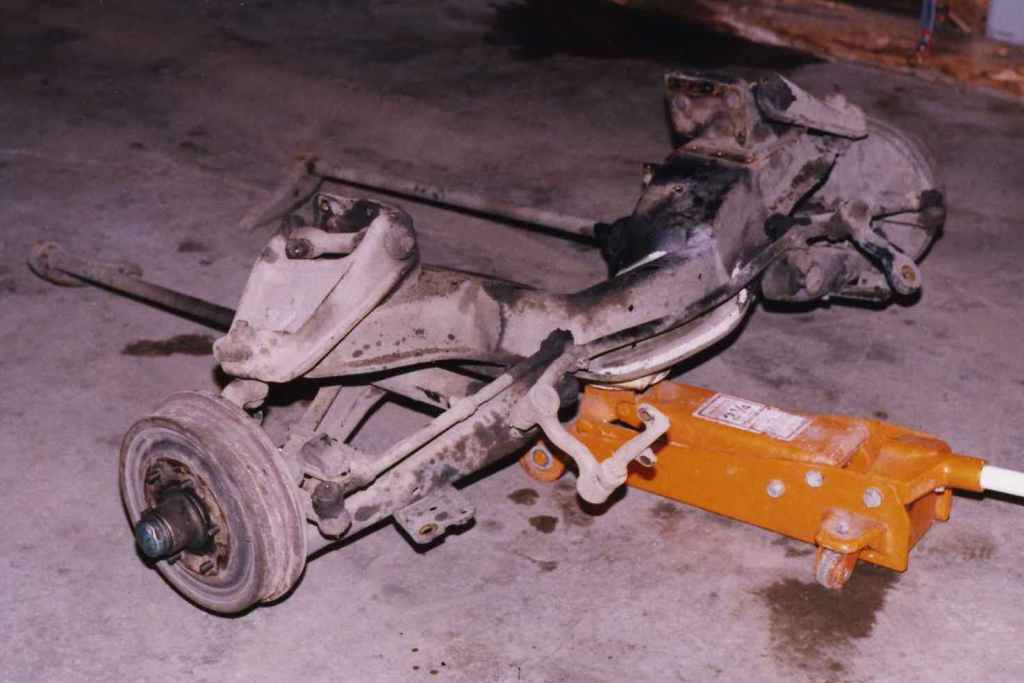
The original front end is out of the truck.
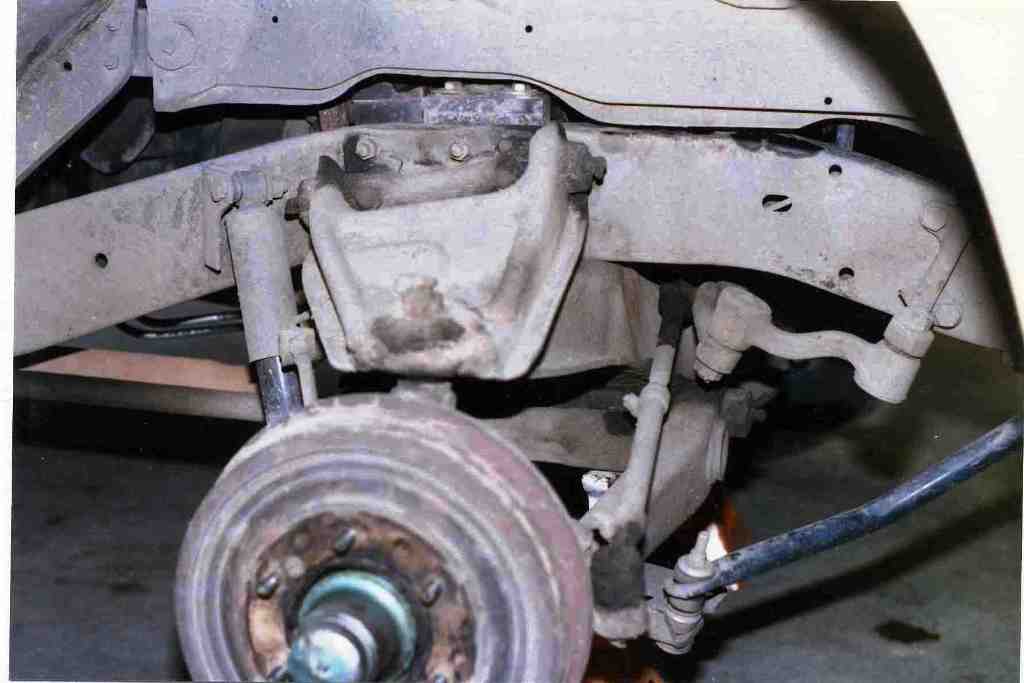
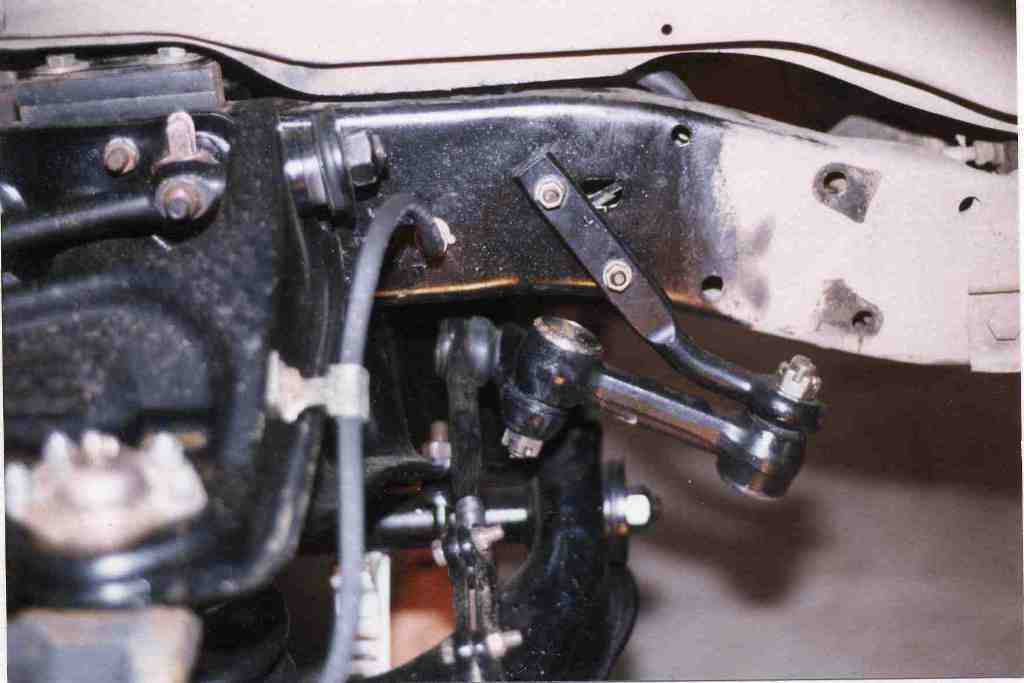
This photo shows the passenger side of the stock suspension before any changes. The only non-stock item visible is an aftermarket sway bar for a Mustang II suspension which had been added much earlier. It actually worked very well with the stock suspension.
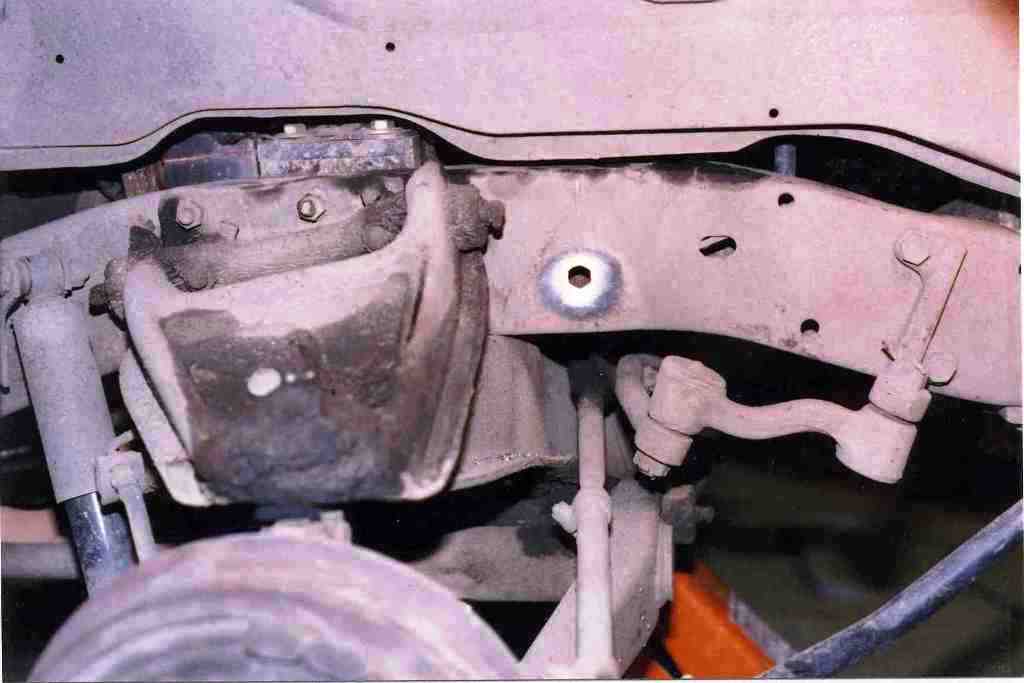
The holes for the brake hoses were the first step of the conversion, and took several hours to cut. These holes are half round and half hex to prevent the hose from rotating. I made the hex portion with a small triangle file and a lot of patience until the hose end fit. There are other ways to attach the hoses but I wanted everything to fit like it did in the 75. Connecting the hard line to the frame end of the hose was rather difficult (inside the frame) and required a lot of wrench work through a small opening in the top of the frame. (There are other and probably easier ways to mount the hoses, including the use of stainless flex hoses instead). The 1960 configuration of the idler arm is very visible in this shot, as compared to the newer design shown below.
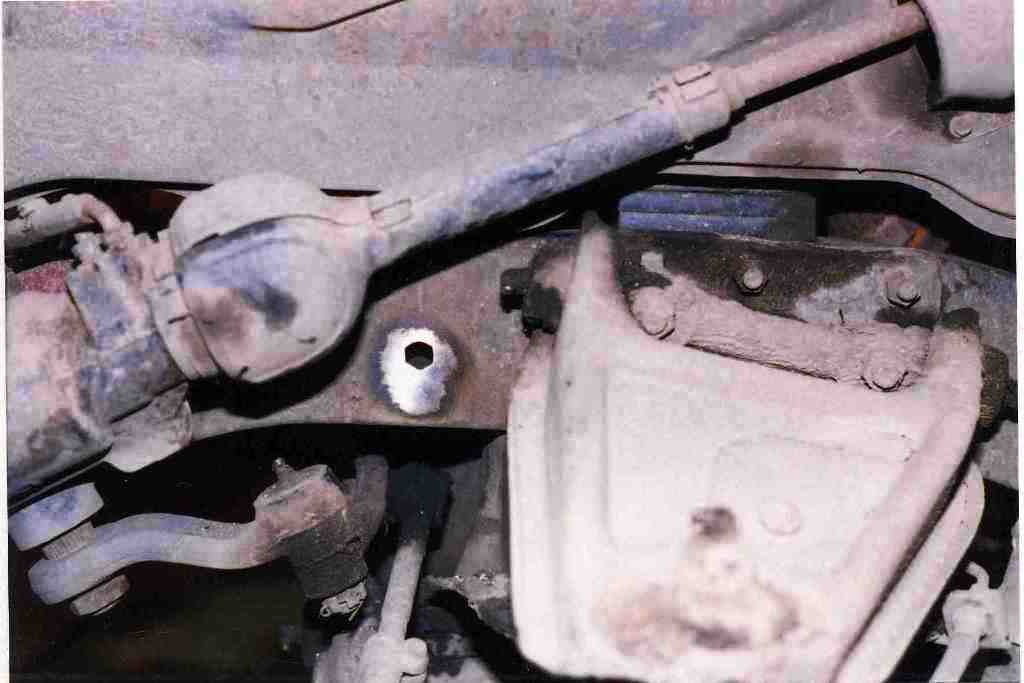
Driver's side in stock configuration with the new brake hose mounting hole.
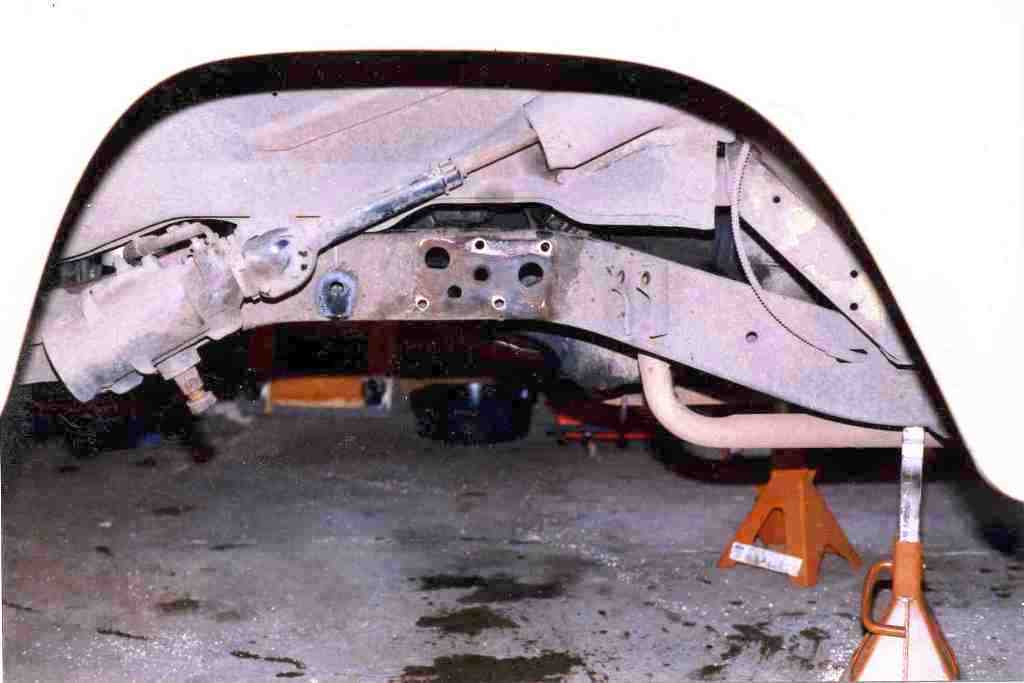
As can be seen, the swap was completed with the engine still in place. Two chunks of surplus frame rail were simply bolted to the early 1955 style motor mount holes in the front of the block. The engine was rested on top of the frame, and the motor mounts, towers and suspension crossmember were removed. Although it can be done with the engine in place it isn't recommended. It would be far more convenient with the engine out of the way. At the time this wasn't an option.
After placing the truck frame on jack stands and before removing the 1960 suspension, I marked the fender and garage floor identifying the centerline of the spindles so I'd make sure to put the new suspension in the same place. The 1960 crossmember came out semi-easy. The bolts came right out, but the crossmember was stuck pretty tight and required use of a cable engine puller. Initially the rear torsion bar crossmember was left in place. Subsequently it was realized this was unnecessary and removed for improved exhaust clearance.
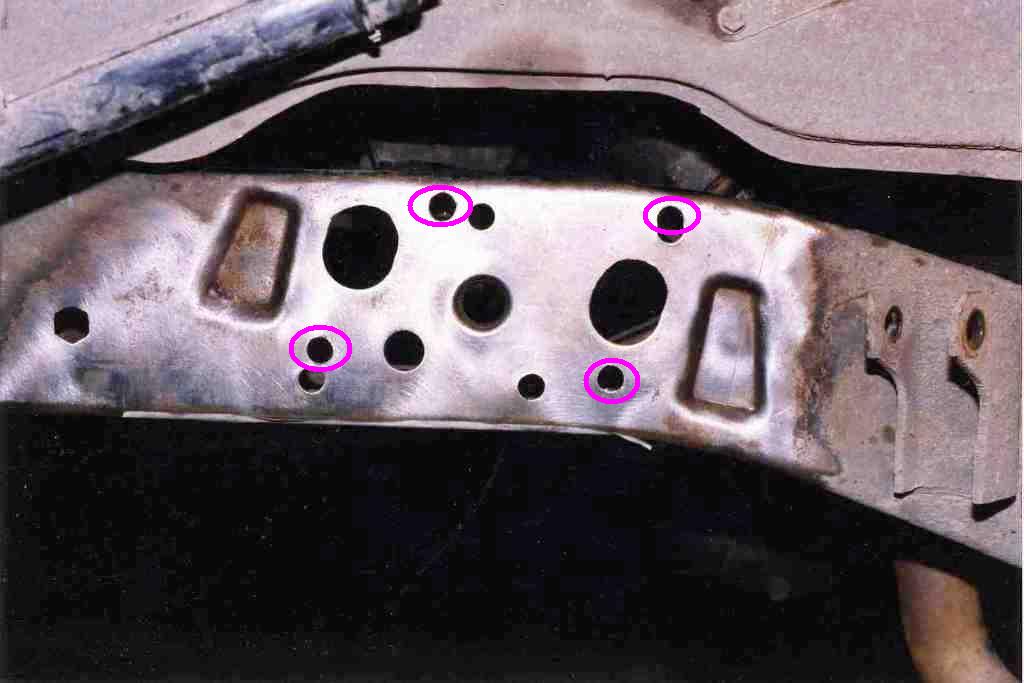
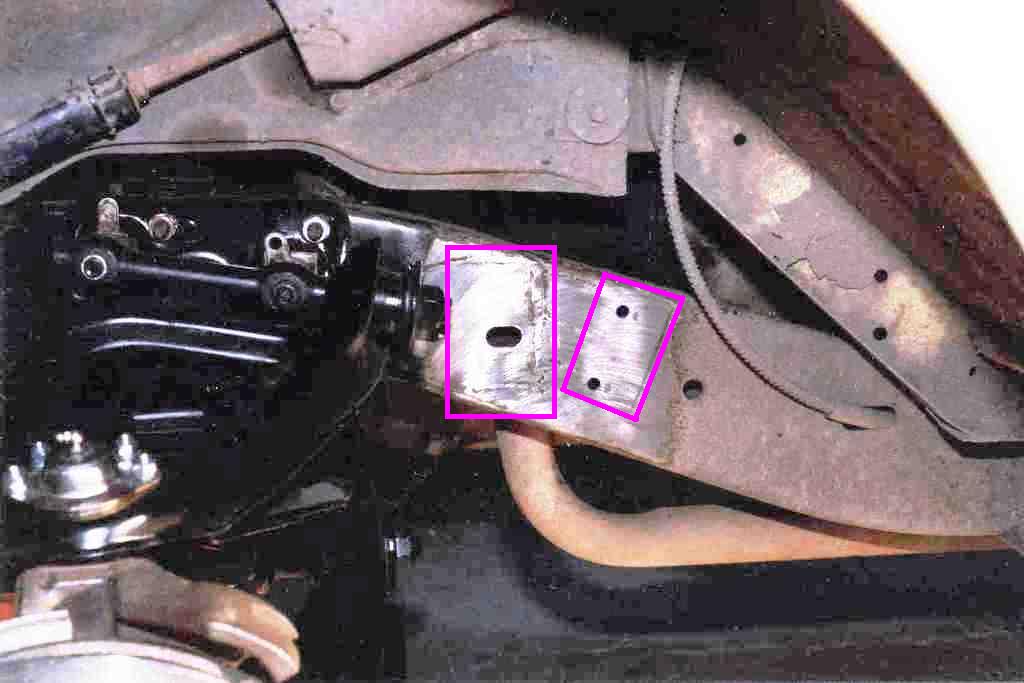
The new suspension crossmember was put into place and it was discovered two of the holes lined up on each side. I believe one was underneath and the other was the upper rear which needed to be elongated. The crossmember was then removed for drilling the frame. I've marked up the following photo to show which holes were added or elongated.
Although it looks like Swiss cheese, only 3 of the holes are added. The rest were already there. Again the manila templates were used to confirm location. It appears looking at the pictures the two large holes also required opening up a bit to provide clearance/access for the upper control arm bolts. The new crossmember was then permanently bolted into place.
It was immediately discovered the upper shock brackets were no longer in the correct orientation causing the shocks to bind. They needed to be moved to the rear at more of an angle. (The following photo is marked showing the old and new locations).
The factory welds on the shock brackets were cut free with a Dremel tool cutoff wheel. Using a tool this precise prevented any damage to the brackets. The truck was lowered to the ground to bring the suspension to ride height, the brackets were bolted to the shocks, and the brackets were centered midway between their front and rear travel, and the frame marked. It turned out the original brackets had two holes drilled in them, as if the factory originally intended to bolt them on. I simply used these holes and attached the brackets with grade 8 bolts. This was a bit tricky since reaching inside the frame to hold the nuts required the use of 2 wrenches taped together. They've been on over 10 years and the bolts have worked fine. Welding might have been easier but that capability wasn't available.
The last step was the steering linkage. I did not want any 1960 steering components to remain, due to high cost and weaker components. There are conversion adapters available to mix and match the steering linkage, but this seemed like a waste of money since everything was being replaced anyway. Once again the manila file folder template was used to locate the mounting holes for the idler arm. Accuracy in mounting the steering linkage is particularly important as it is a close fit to both the frame and the crossmember.
I had previously installed power steering using the REZ Engineering kit which is designed for the 63 up frame. A few solid steel spacers and it worked fine on the 60 frame. (CPP now offers an adapter kit designed specifically for the 60-62).
This project could probably be completed in a weekend if planned out ahead of time. Hope this helps.