Tach for '64-'66 Chevy Truck Dash
Van Pershing
Next, CAREFULLY disassemble it.

Here's the finished product. It actually looks like it belongs and we didn't spend a fortune!
Tach for '64-'66 Chevy Truck Dash |
||
Van Pershing |
||
|
|
|
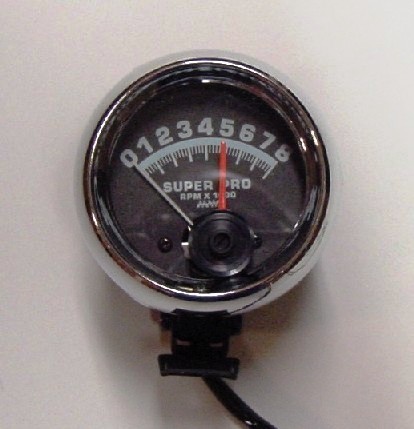
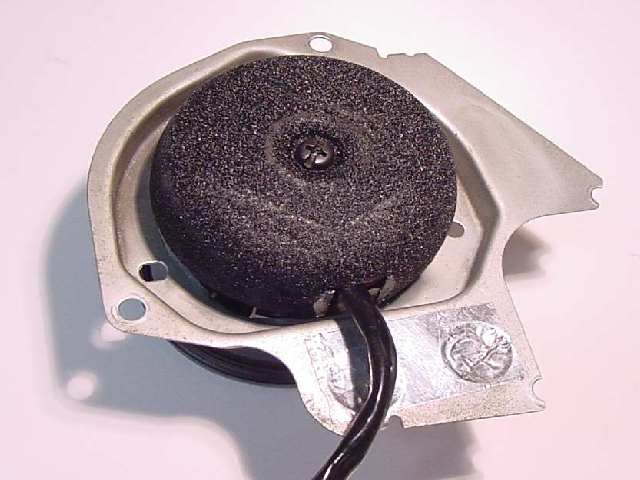
| First, buy this 2" diameter illuminated tachometer from JC Whitney, PN 14-4786. It's the only one I have found that doesn't have a 260-degree sweep so it will fit in the window of the stock instrument panel - and $30 (2001) isn't a bad price! (now in 2013 it's $58.) |
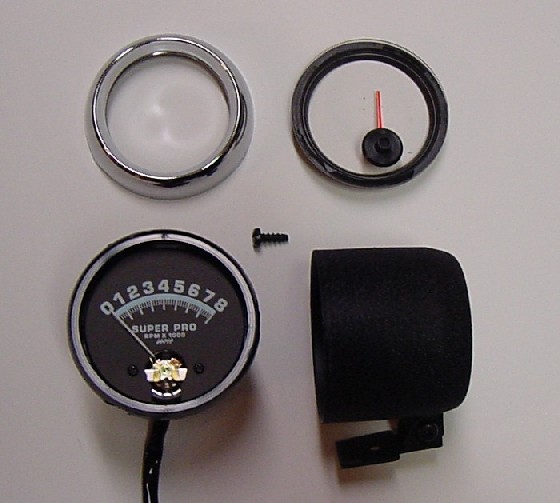
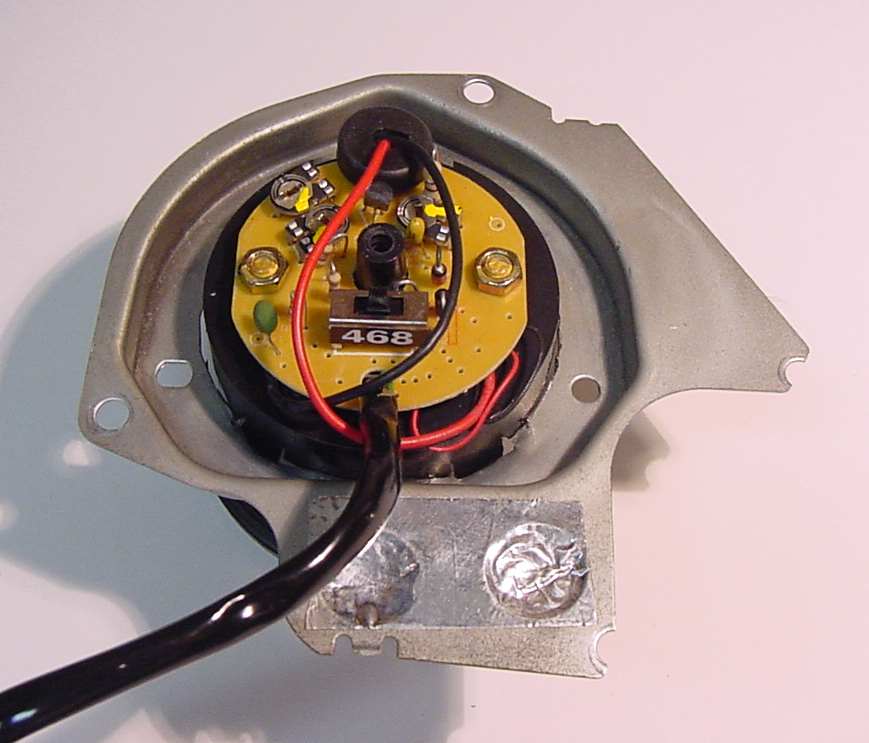
Next, CAREFULLY disassemble it. |
|
|
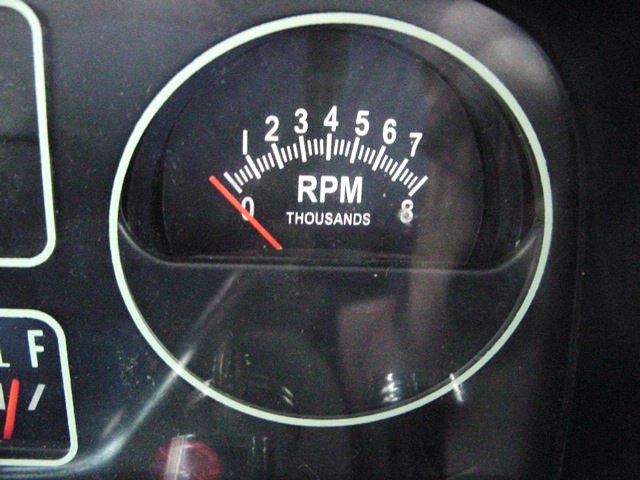
I took the opportunity to paint the needle red to match the freshly painted needles on the rest of my instrument panel. | |
|
|
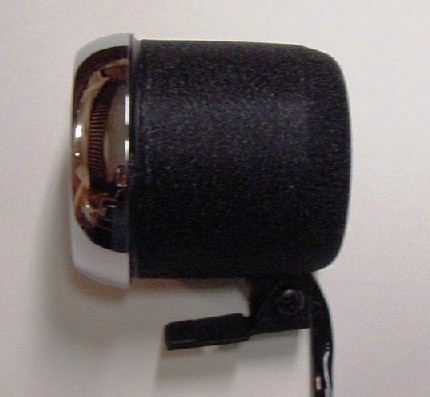
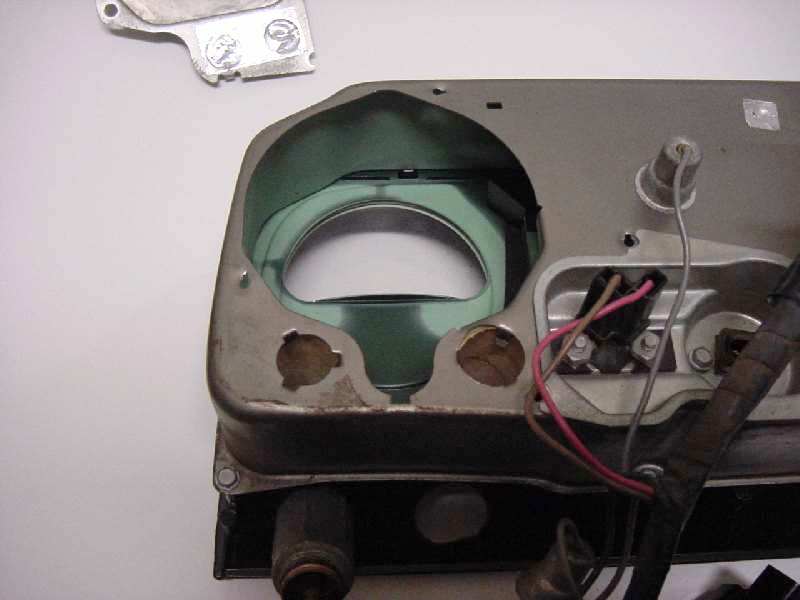
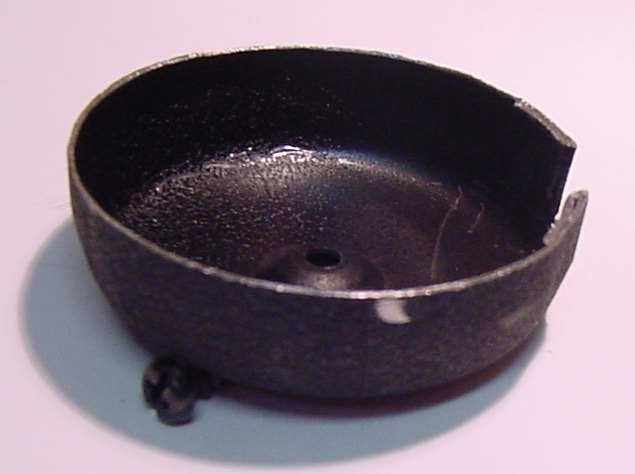
Remove the cover from the back of the instrument panel. This will be used to mount the tach |
|
|
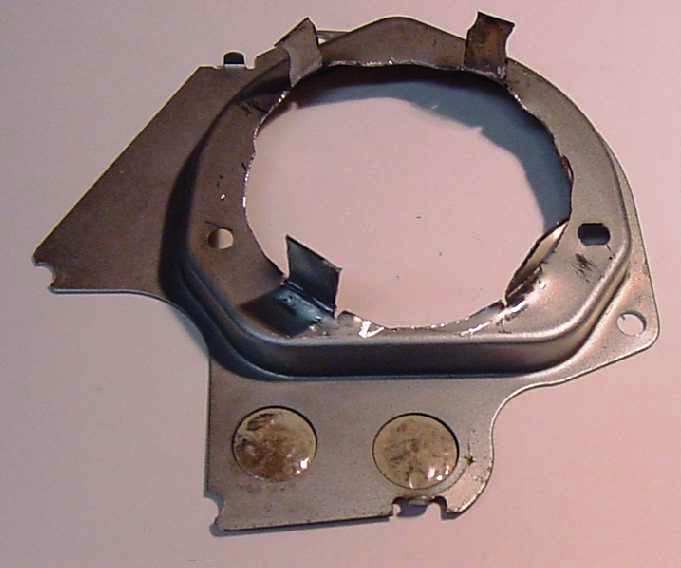
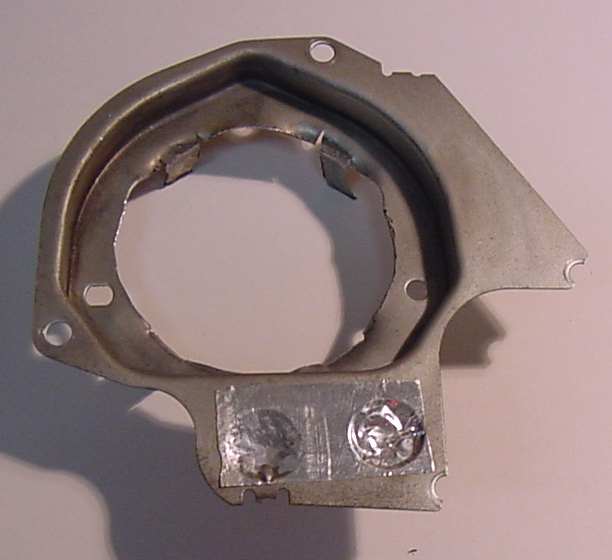
Now cut a 2-1/2" hole on the center of the cover leaving some "tabs". Bend the tabs in or toward the front of the instrument panel. I used a Dremmel tool with a cut-off and a stone to deburr. It's a little crude but nobody but me (and now you) will ever know! |
|
|
|
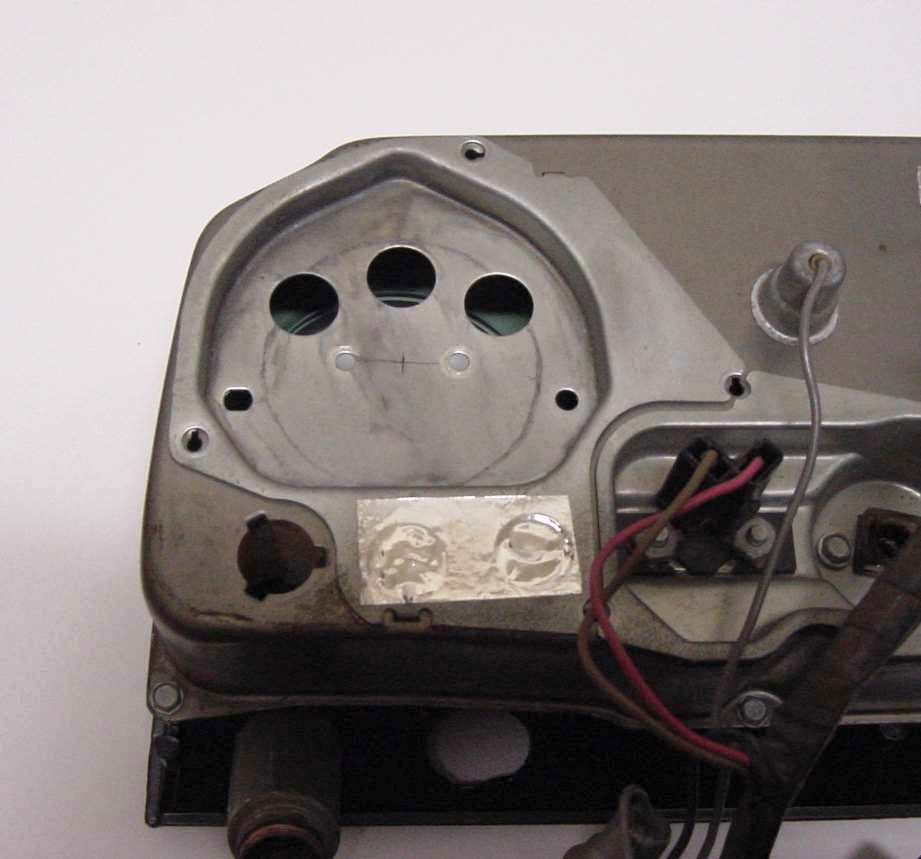
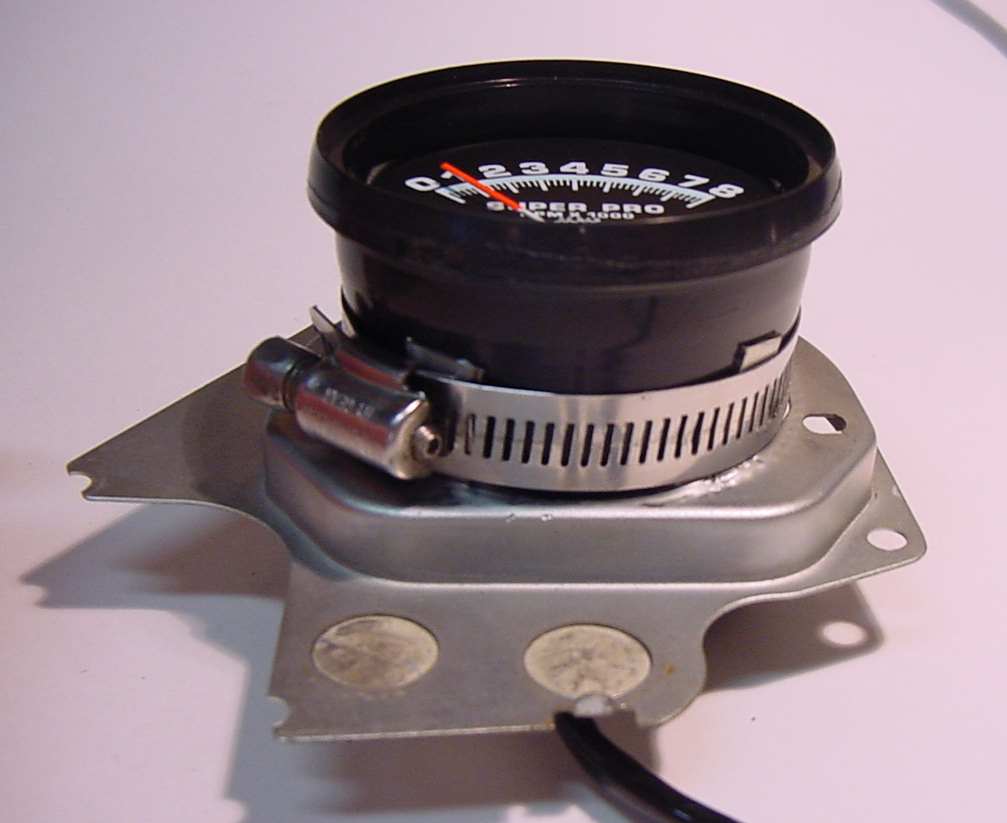
| Next push the tach into the hole far enough so that the front of the tach almost touches the inside of the instrument panel. A simple hose clamp locks it in place. |
||
|
|
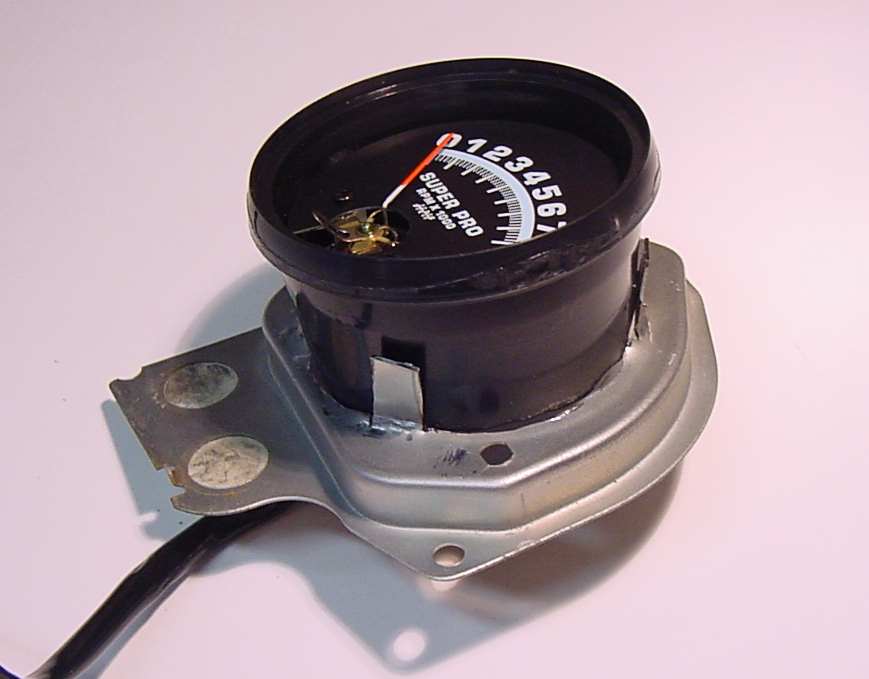
As you can see in the picture above, the back of the tach with all its wires hanging out is exposed. I cut the back cover that came with the tach so that it could be attached to the back of the tach in its original position. A slot for the wires will have to be made. |
|
Put the entire assembly back into the instrument panel and your done. | |
|
||
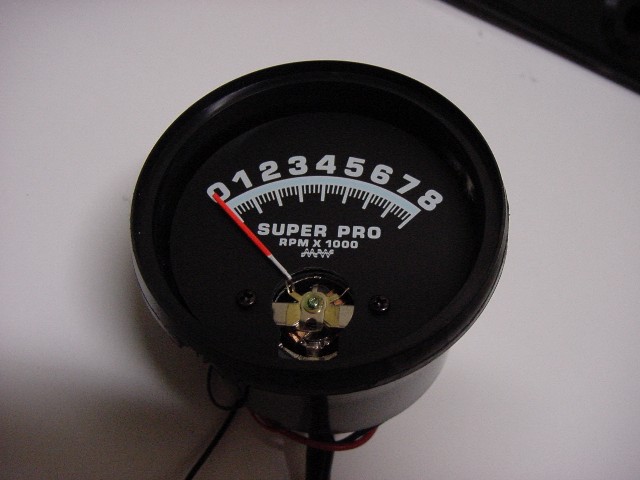
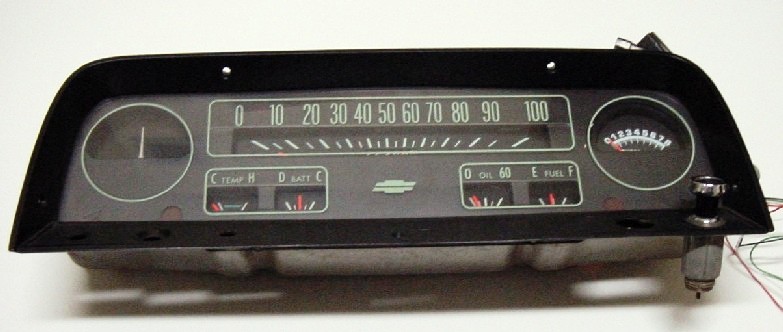
Here's the finished product. It actually looks like it belongs and we didn't spend a fortune! |
||
|
Another nice touch, but certainly not required, is to add a new tach face that looks like the original. The original face only went from 0 to 5,000 rpm but the JCW tach goes to 8,000 rpm. Fellow trucker Lenny did some scanning and manipulating and came up with a Word file that you can play with to print a new tach face that can be glued in place. Click here to download the file. | |
| Return to the Idea Page | ||